Send an SMS batch campaign to a list
This guide will assist you in setting up a campaign that will send to a saved list on your account.
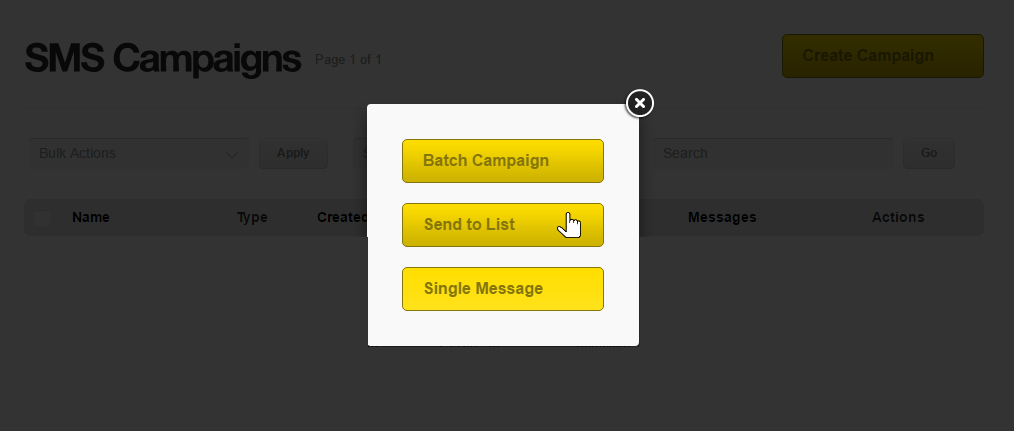
Once you have logged in using your username and password, select the Create Campaign button in the upper right hand corner and mouse over the SMS option.

Once you have clicked on that option select the Send to List button.
Once you have selected the Message (send to lists) option you will be taken to the following page:

From this page you will be able to construct your campaign using the following options:
- Name – This is the name of the campaign that you can use to reference it with on the system.
- List – This is a drop-box that contains all of the lists that you have saved on your account. Select the list that you wish to send to here.
- Contact – This is a drop-box that contains all the contacts in your selected list. If you select All Contacts the message will be sent to everyone in the list. Alternatively you can select an individual contact from this drop-box to send just to them.
- From – This is a custom number that you can select as the source number for the SMS. This can be anything you need it to be. Please bear in mind however that not all networks support this. If the destination network does not, then the number will be a randomly generated one.
- Advanced Options – Click on this button to enable you to setup the more advances options for this send, pictured below:

From the advanced options you can set when the send will start (manually, or at a scheduled time), how fast the messages will be sent out and the additional filtering options as pictured above. Once your are satisfied with your settings you can click on the Send button to move onto the next step.

You will be taken to the preview page. This is just a summery page of all the settings you have selected and gives you a speech bubble with an example of your message. This page also allows you to send a test of the message to a specified number from the Send Test option. All that is required for this if for you to enter a number you wish to receive the test to in the box and then click the Send Test button next to the box. Once you are satisfied that everything is correct you can complete the campaign creation process by clicking the Finish button.
